So I happened to come across a broken HTC Incredible 2. My sister had replaced it with an iPhone when the Incredible stopped charging. She had taken it back to the Verizon shop where they tried replacing the battery but it still wouldn't charge. It seems like such a waste to throw away such a fine piece of hardware which clearly works but can't recharge the battery.
Long story short, a lot of people have had a similar problem and had success by simply replacing the USB chargin port of the phone. As it turns out the repair is not even that difficult. The phones design is incredibly modular, with everything connected to the mainboard by ribbon cables. In this post I document the process of disassembling the HTC Incredible 2 and replacing the USB charging port.
The part I ordered was For HTC Incredible S II 2 Charging Charger Port USB Dock Connector Part Repair. The cost was $9 shipped and it came with a screwdrive and plastic pry tool.
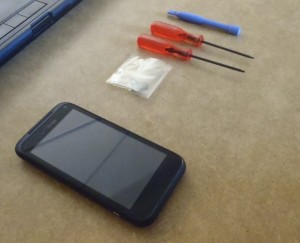
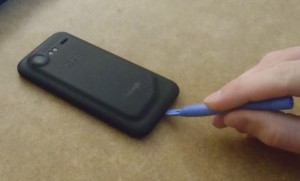
In addition to these tools, I also used a pair of tweezers, an exacto knife, and a very small phillips screw driver. Start by removing the outer cover. This can be done with the plastic pry tool or a coin, or a credit card with one corner shaved down a bit. There is a little tab at the bottom of the phone to get you started.
Then remove the battery and the simcard. These are pretty easy, just take them out.
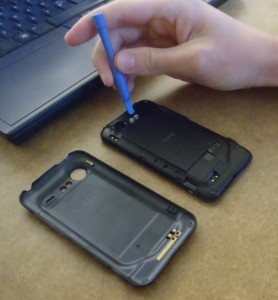
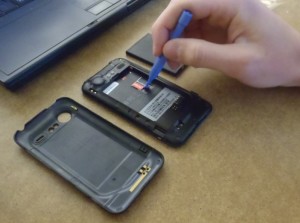
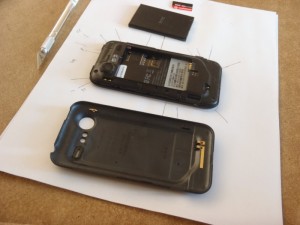
Now there are seven (7) star screws to remove in order to get the inner housing cover off. One of them is covered with a green "void" sticker (removing this screw will void the warranty, which I assume is already voided). If you dont have a star screwdriver (though one came with my replacement part) a small flathead should work. you can look at the next picture to see where the screws are located.
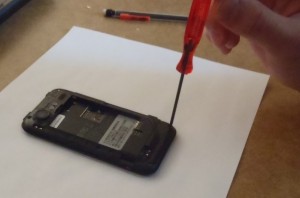
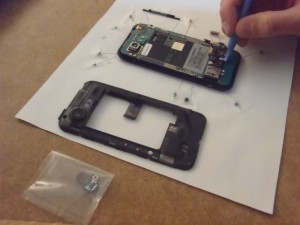
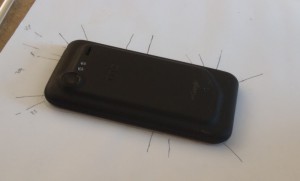
I used a piece of paper and take to diagram where all the parts came from as I took them off. This is a handy way to keep track of where stuff goes when you put it back together. Anyway, now that the screws are removed we may remove the inner back of the case.
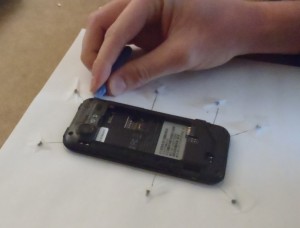
For me, the case took some work. Note that the volume rocker switch is a part of the piece we are removing so it is safe to pry under it, however the little piece of plastic over the headphone jack is not part of the piece we are removing, so don't try to pry it out too. During this process, the USB protective housing and the little rubber cover to what looks like an antenna port came out. I just added them to my diagram so I knew how to put them back.
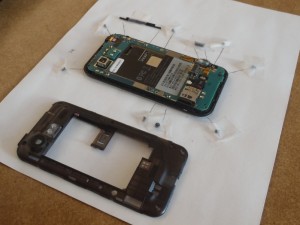
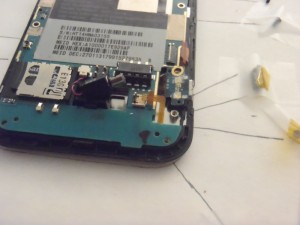
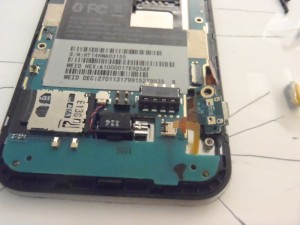
Now we can see the (presumable) culprit of the charging problem. The USB charging port has some corrosion on it. I've read that many people have had problems charging and that replacing this part will fix those problems. I'm making an $9 bet that this is my problem too.
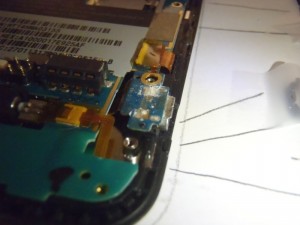
Now we have to disconnect two ribbon cables on the right side of the main board. They are covered with some ESD tape. I saved the tape and put it back on when I reassembled the phone. I'm not sure if they're useful but I figured perhaps they'd relieve some stress on the attach points.
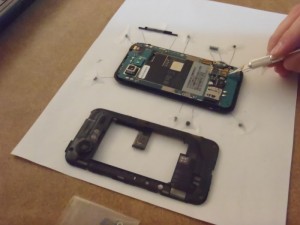
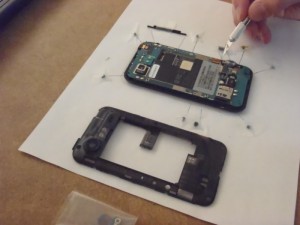
To remove the ribbon cables pop the tab on the back of the attach point. With the tab up, the ribbon cable should slide right out.
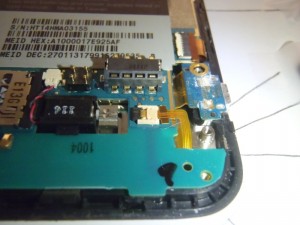
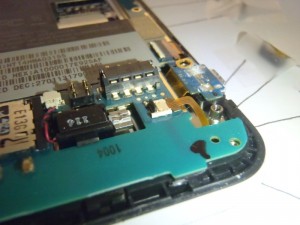
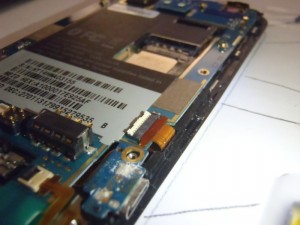
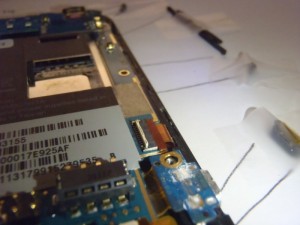
Now remove the two small philips screws. One is holding a piece of plastic over the headphone jack. The other is holding the main board onto the case.
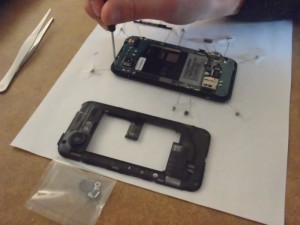
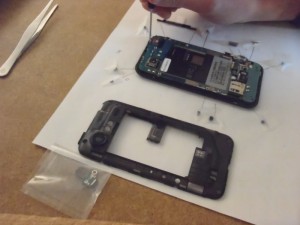
Next we need to pop out the vibrator motor. Once the motor is removed from it's holder, you may leave it connected to the mainboard. It's not held in with any tabs so just pull it on out with your pry tool.
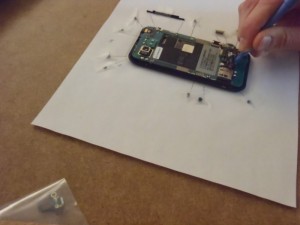
Now it's time to separate the mainboard from the housing. The mainboard is still connected by a ribbon cable on the left side, so lift up from the right side. The board is held down by two attach points. It fits under the headphone jack at the top, and it is clipped in place at the vibrator motor housing. I used the pry tool to separate the board from the clip at the vibrator motor housing, and then pulled slightly downward to remove it from under the headphone jack.
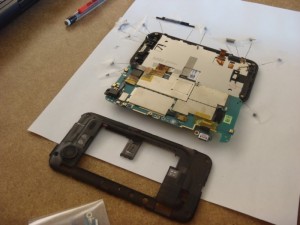
Now we can remove the ribbon cable that is attaching the board to the screen. In hindsight this is not really necessary since our part is already exposed, but I guess it make things a bit easier later. Start by removing the plastic tape covering the ribbon cable attach point. Then pop the lever, and slide out the ribbon cable.
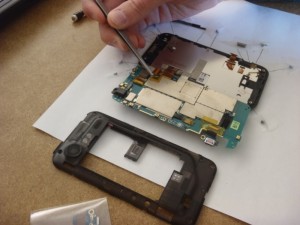
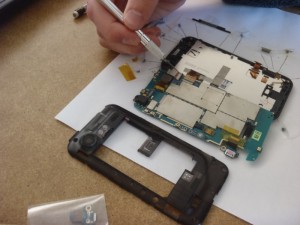
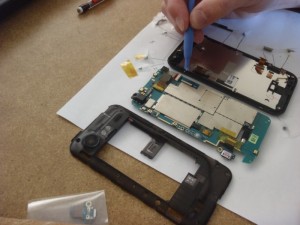
Now that the mainboard is separated from the housing we can remove the USB port. It's just another ribbon cable so remove the tape, flip the tab, and slide out the part.
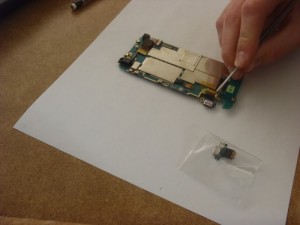
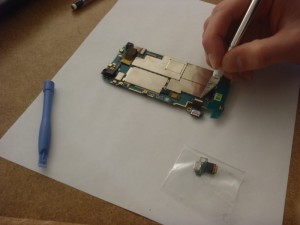
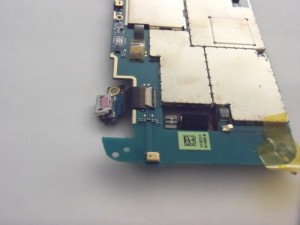
The we simply swap in the new part. Insert the ribbon cable, make sure it's snug inside the attach point, then close the tab.
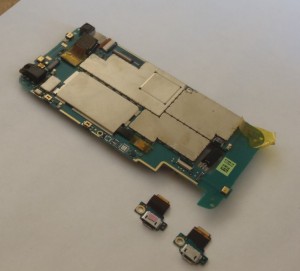
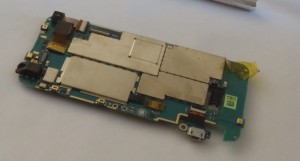
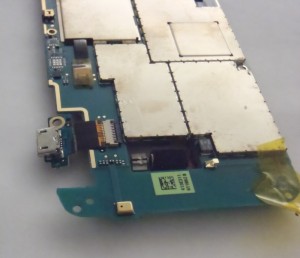
Now we reattach the mainboard to the housing by the big ribbon cable on the left (screen?). This was a bit tricky since the ribbon cable is kind of short. I had to pull a five finger maneuver to get the thing in a position where I could insert the cable without it sliding back out. Once the cable is in, close the tab.
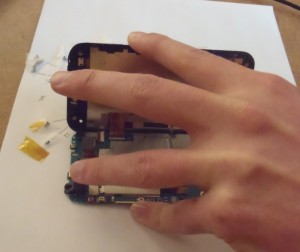
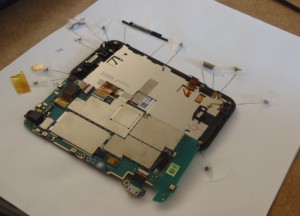
Now simply flip the mainboard back over so that it is lying on the housing. Check the camera to make sure it didn't slide out. Mine had slid out and was sitting at a funny angle so I had to shift it back into place. Also make sure that the two small ribbon cables on the right side are pulled out and aren't buried under the mainboard.
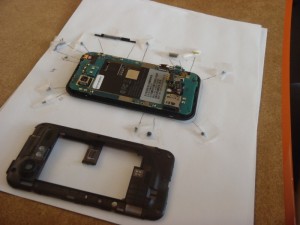
Now we can snap the mainboard back into place, and return the vibrator motor back to it's home.
Now screw back in the two phillips screws. One holds the plastic cover over the headphone jack, and the other holds the mainboard onto the housing.
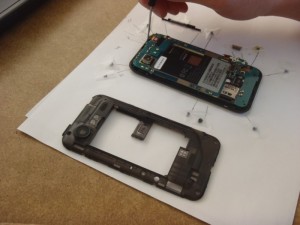
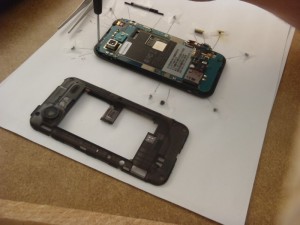
Now we reattach the small ribbon cables on the right side. Slide them into the attach point, close the lever, and then replace the tape (if you like).
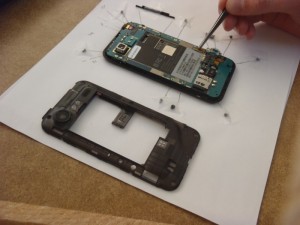
Now we can snap the cover back on. Start by replacing the USB port cover. This fits into the housing by two tabs that are under the port. Replace the rubber cap on the left side if it fell off. Also return the volume rocker to it's place inside the back of the housing (the part that you took off) if it fell out.
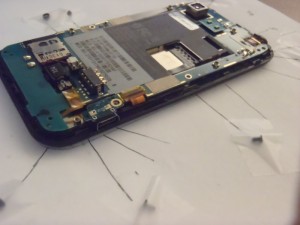
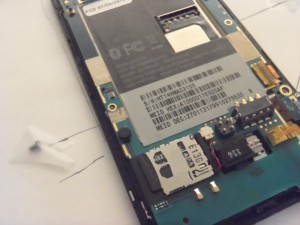
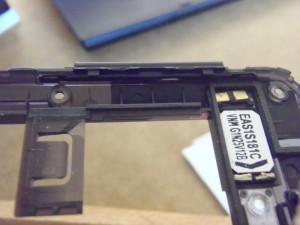
Then simply snap the back of the housing into place, and screw all the screws back in.
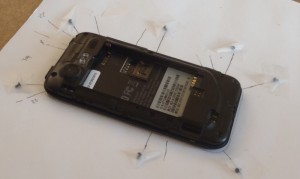
Now you can replace the battery, simcard, and outer cover.
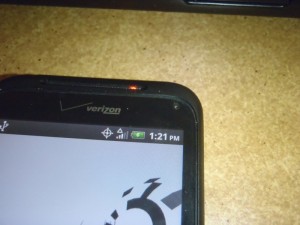
Plug in the phone, and if nothing starts sparking/smoking perhaps you have indeed fixed your problem. Not that this is proof, but the phone now at least tells me it's charging the battery. We'll see if it ever gets to 100%.

Comentarios
Comments powered by Disqus